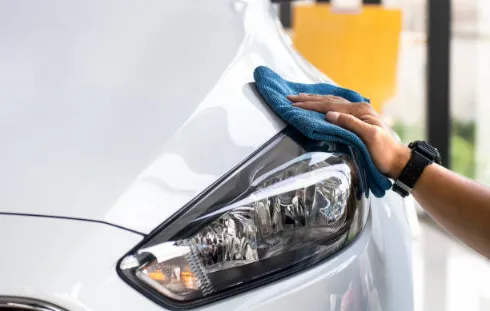
Why Headlight Resealing Matters
Foggy or leaky headlights plague many drivers. Water sneaks in, causes mist, and dims the beams. Over time, seals wear out from heat, cold, and road vibrations. It’s a common headache for car owners.
Traditional silicone sealants often fall short. They harden, crack, and make future fixes messy. Removal turns into a nightmare. Plus, they don’t flex with temperature changes.
Enter butyl tape. This stuff stands out for its flexibility and waterproof punch. It keeps seals tight without the drama. Drivers get clear lights that last.
Think about night drives. Clear headlights mean safer roads. Resealing isn’t just cosmetic; it boosts visibility. And yeah, it saves money on replacements.
What Is Butyl Tape and Why It Works Best for Headlights
Butyl tape comes from butyl rubber, a synthetic material known for toughness. It sticks to surfaces and stays put. The tape forms a barrier against moisture and dust.
In headlights, heat from bulbs and cold from winters test seals. Butyl handles that swing. It doesn’t cure or harden, so it moves with the housing.
Waterproof qualities shine here. No leaks, even in heavy rain. Durability against aging keeps it reliable.
High-quality automotive butyl tape made from butyl rubber remains flexible from -40°C to 90°C, ensuring a strong, non-hardening waterproof seal that lasts for years.
Adhesion is key too. It bonds well to plastic, glass, and metal parts in headlights. No wonder mechanics reach for it first.
Sometimes people confuse it with regular tape. But butyl’s designed for harsh conditions. It absorbs shocks from bumpy roads.
Tools and Materials You’ll Need
Gather everything before starting. This avoids mid-job runs to the store.
- Screwdrivers or trim tools to remove the headlight assembly.
- Heat gun or oven for softening the housing.
- Plastic scraper or putty knife for old sealant removal.
- Isopropyl alcohol and clean cloths for wiping surfaces.
- Gloves to keep hands clean.
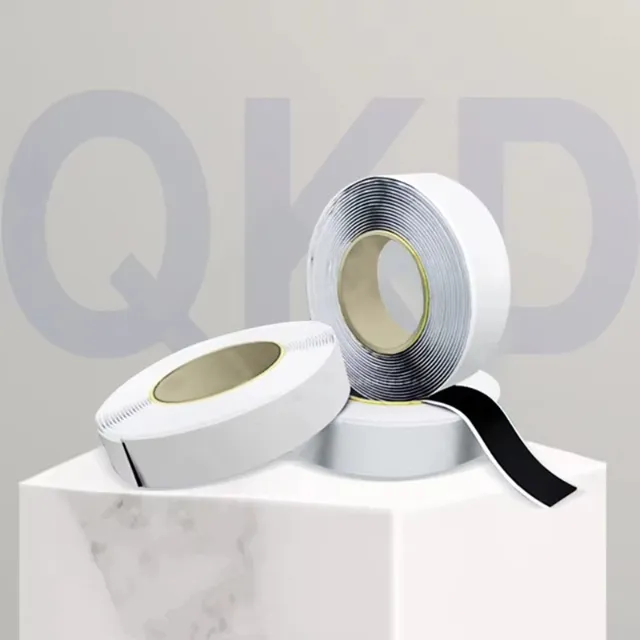
- New automotive butyl tape, like QKD Tape.
Pick the right tape. Not all are equal. Look for ones suited to cars.
Choose an automotive butyl tape with strong adhesion to metal, glass, and plastic, excellent weather resistance, and a non-hardening black finish that blends with most headlight housings.
Black color hides well inside assemblies. Avoid thin, cheap rolls; they tear easily.
A roll about 2mm thick works for most jobs. Measure your headlight groove first.

Step-by-Step Guide: How to Reseal Car Headlights Like New
Follow these steps carefully. Take your time; rushing leads to leaks.
1. Remove Headlight Assembly
Park the car safely. Pop the hood. Unplug wires from the headlight. Remove bolts or clips holding it in place. Gently pull it out. Set it on a soft surface to avoid scratches.
2. Heat and Open Housing
Heat softens the old seal. Pry apart lens and housing with a flat tool. Work slowly around the edge.
3. Clean Old Sealant
Scrape off residue. Use the plastic tool to avoid gouging. Wipe with alcohol. Surfaces must be spotless. Dirt ruins the new bond.
4. Apply New Butyl Tape Evenly
Cut tape to fit the groove. Peel backing as you go. Press it firmly into place. Overlap ends slightly for full coverage. Smooth out bubbles.
5. Reheat and Press
Heat the assembly again lightly. Push lens back onto housing. Clamp or tape it together. Let it cool completely. This sets the seal.
6. Reinstall After Cooling
Check for gaps. Reattach to the car. Plug in wires. Test the lights. Drive and watch for fog.
Expert Tips for a Perfect, Long-Lasting Seal
Pros know little tricks make big differences. Heat evenly to prevent warping. Apply pressure after heating. Use clamps for uniform contact. Work in a garage if possible. Wind or dust interferes.
For best results, use a butyl tape rated for -40°C to 90°C and apply it at around 25°C to ensure maximum tack and flexibility. Low-grade tapes can lose adhesion in cold weather.
Test fit before peeling the backing. Adjust as needed. After resealing, clean the exterior. Polish lenses for that new look. Sometimes seals fail from cracked housings. Inspect first.
Store extra tape in a cool spot. It lasts longer that way.
Common Mistakes to Avoid
Skipping cleaning is top error. Old gunk weakens the bond. Always wipe thoroughly.
Overheating melts plastic. Keep temps low.
Using too little tape leaves gaps. Be generous.
Rushing reassembly traps air. Press firmly.
Avoid cheap butyl tapes that harden below freezing or melt above 80°C — always check the temperature rating before purchase. Forgetting to unplug batteries risks shorts. Installing wet leads to immediate fog. Dry everything.
Why Professionals Prefer Butyl Tape for Headlight Repairs
Shops swear by butyl for reliability. It outperforms silicone in longevity.
Flexibility handles vibrations. No cracks over miles.
Waterproof nature suits exposed headlights.
Professional workshops choose butyl tapes rated for wide temperature ranges and excellent water resistance to guarantee durable results.
Ease of use saves time. No mixing or curing wait.
Removability helps future work. Heats up and peels off clean.
Mechanics deal with warranties. Butyl reduces comebacks.
It’s versatile too. Works on taillights, fog lamps.
Conclusion: Reseal Once, Drive Dry
Resealing headlights with butyl tape restores clarity. No more foggy drives. This method beats quick fixes. Seals hold up in all weather. Choose quality for peace of mind. It pays off.
A premium automotive butyl tape—flexible from -40°C to 90°C and fully waterproof—ensures a clean, factory-quality headlight seal that lasts for years.
Try QKD Tape next time. Clear roads ahead.
FAQ
Q: Can I use regular silicone instead of butyl tape?
No. Silicone hardens, cracks, and makes future removal a pain. Butyl tape stays soft forever, moves with heat and cold, and keeps water out for years.
Q: Will the tape melt in summer heat?
Not with QKD Tape. It handles 100°C for 2 hours without flowing and stays crack-free down to -40°C. Perfect for hot engine bays and winter nights.
Q: Do I need to heat the headlight to apply the tape?
Only when closing the housing. Apply tape at room temp (best 20-30°C), then lightly heat the seam and press. No heat needed for sticking the tape itself.
Q: How long does one roll last for two headlights?
A 2mm × 20mm × 5m roll is plenty for both headlights with some left over. Most cars need about 3-4 meters total.
Q: Can I reuse the old butyl tape?
Never. Old tape is dirty and loses stickiness. Fresh QKD Tape gives factory-tight seal every time. Cheap fix today = foggy lights tomorrow.
